Individual Asset Guides
2D Art Maker – Characters
Asset structure, demo scene, saving character prefabs, recommended rendering setup and custom parts.
This pack was created with Spine.
- Spine Runtime is required to play animations in Unity.
- A Spine Editor license is required to include the Spine Runtime in your project.
- A Spine Editor license is also required to edit Spine content.
For downloading the Spine Runtime and more details, please refer to the 2D Characters Common Guide first.
✅ 🔗 Spine Runtime Download
1. Asset Structure Overview
📁 _CommonSource
Resources shared across all themes
• Fonts, Prefabs, Scripts, Shader&Materials, Spine, Sprite

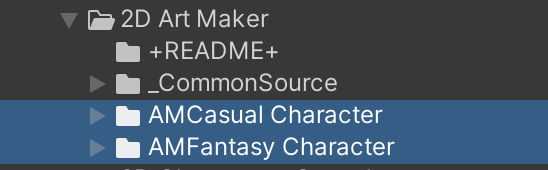
📁 AMCasual Character
📁 AMFantasy Character
Resources used separately for each theme
• Demo, SpineSource
2. Demo Scene
2-1. Game View Resolution Settings
1. Check the Canvas Scaler size set in the demo scene for each asset.
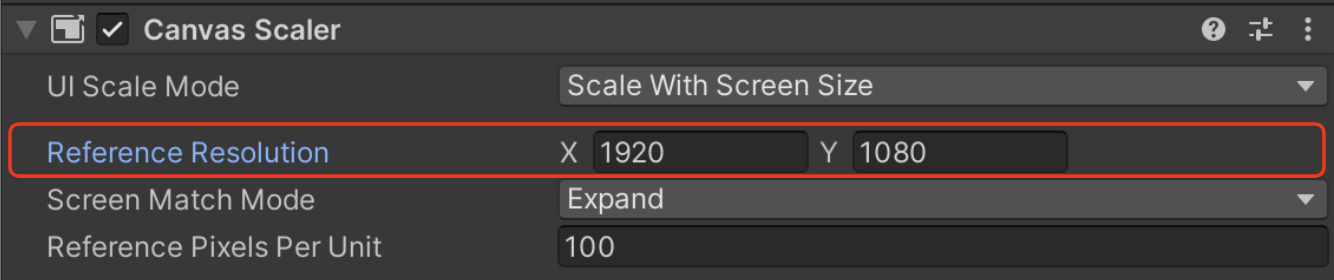
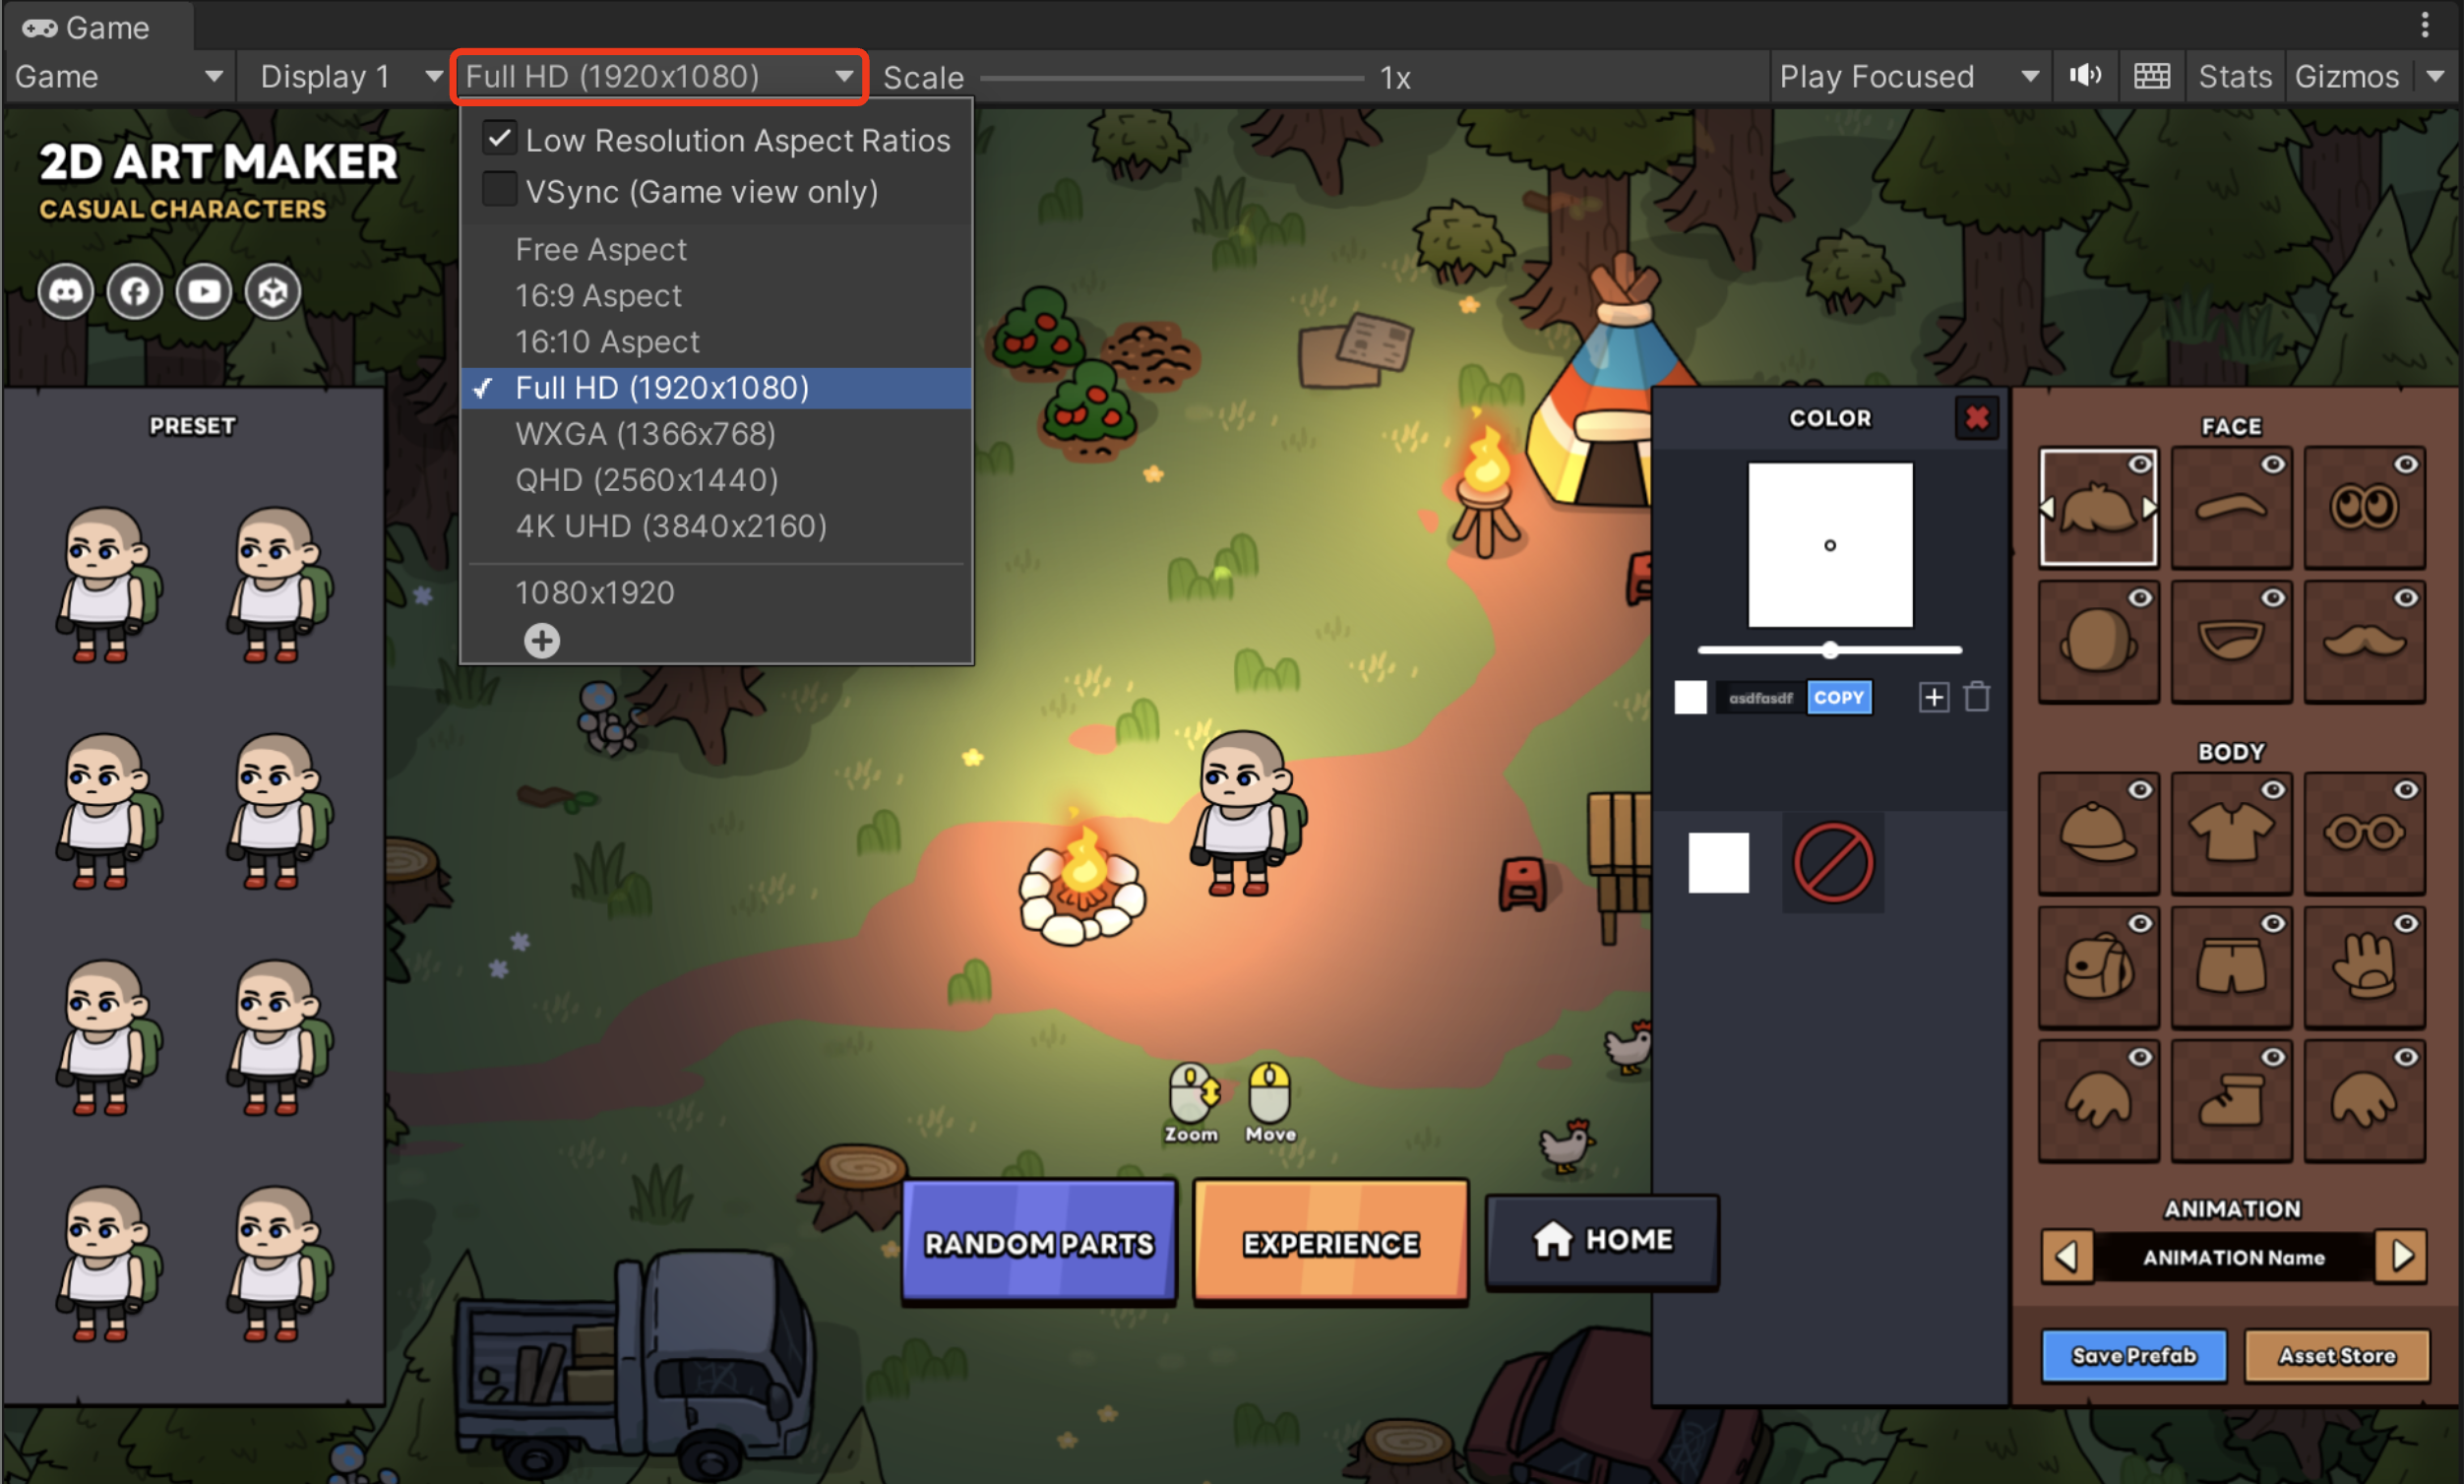
1. In the Unity Editor's Game view, adjust the resolution settings to match exactly with the Canvas Scaler resolution used in the demo scene.
2-2. Save Character Prefab and Thumbnail Image
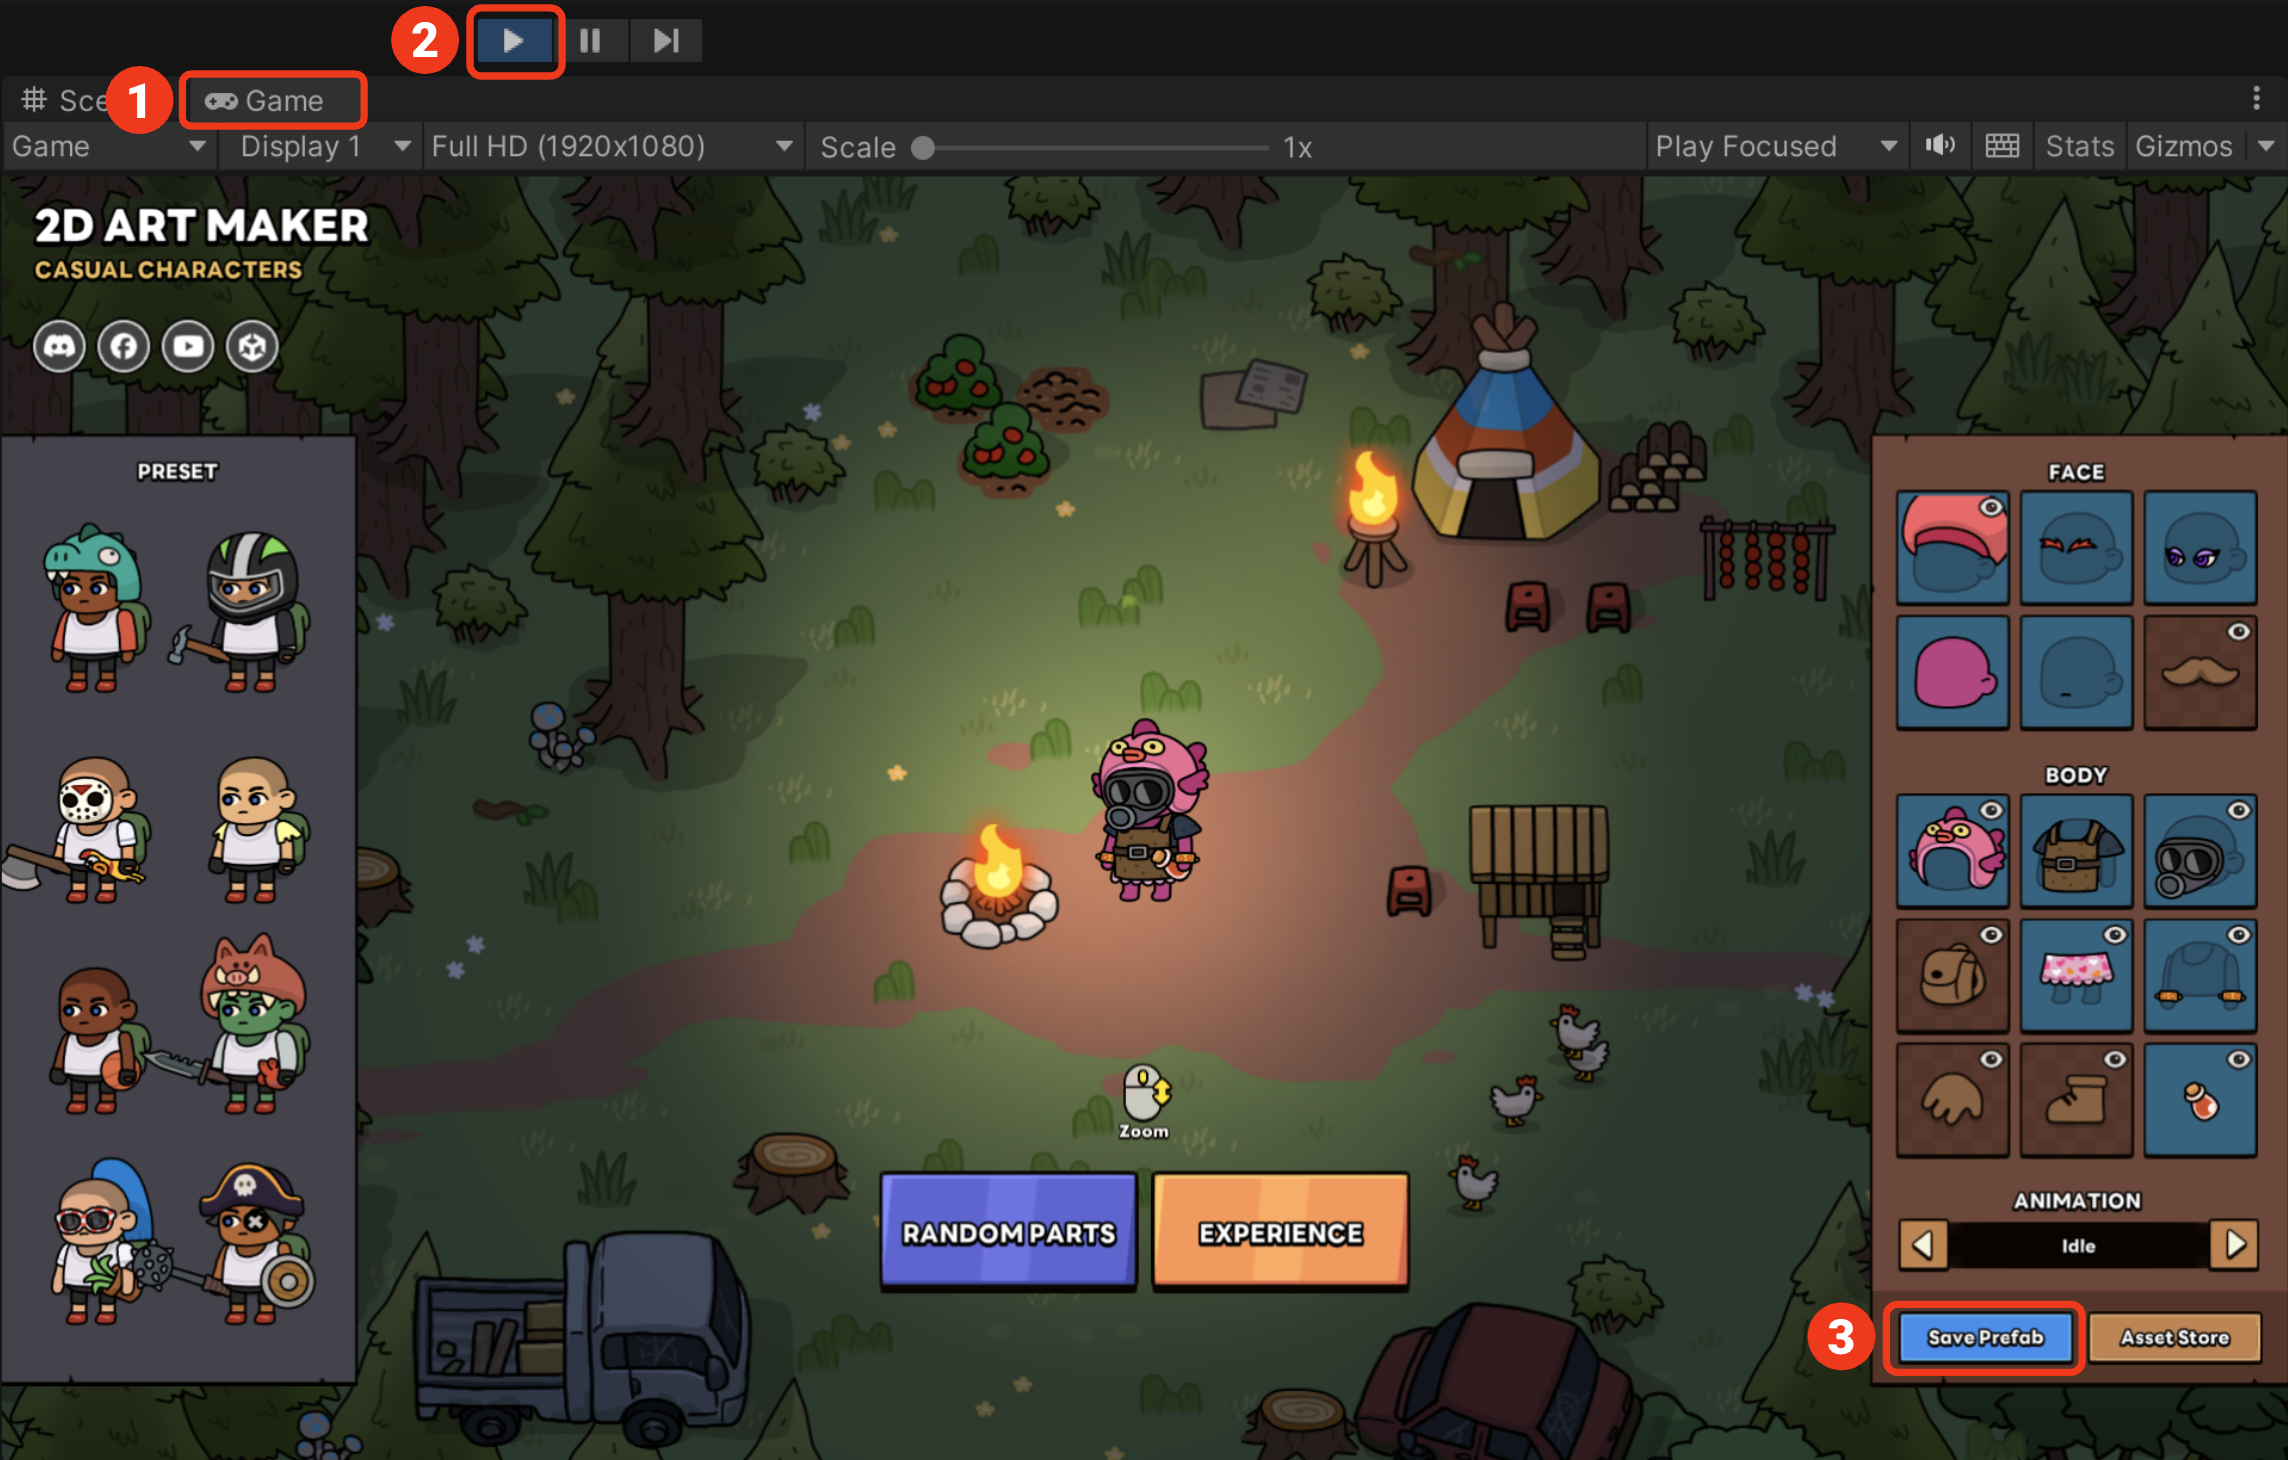
1. Play the scene in Game View and configure the desired parts and colors. (Try the Random Parts button at the bottom center!)
1. Click the [Save Prefab] button in the bottom right to save.
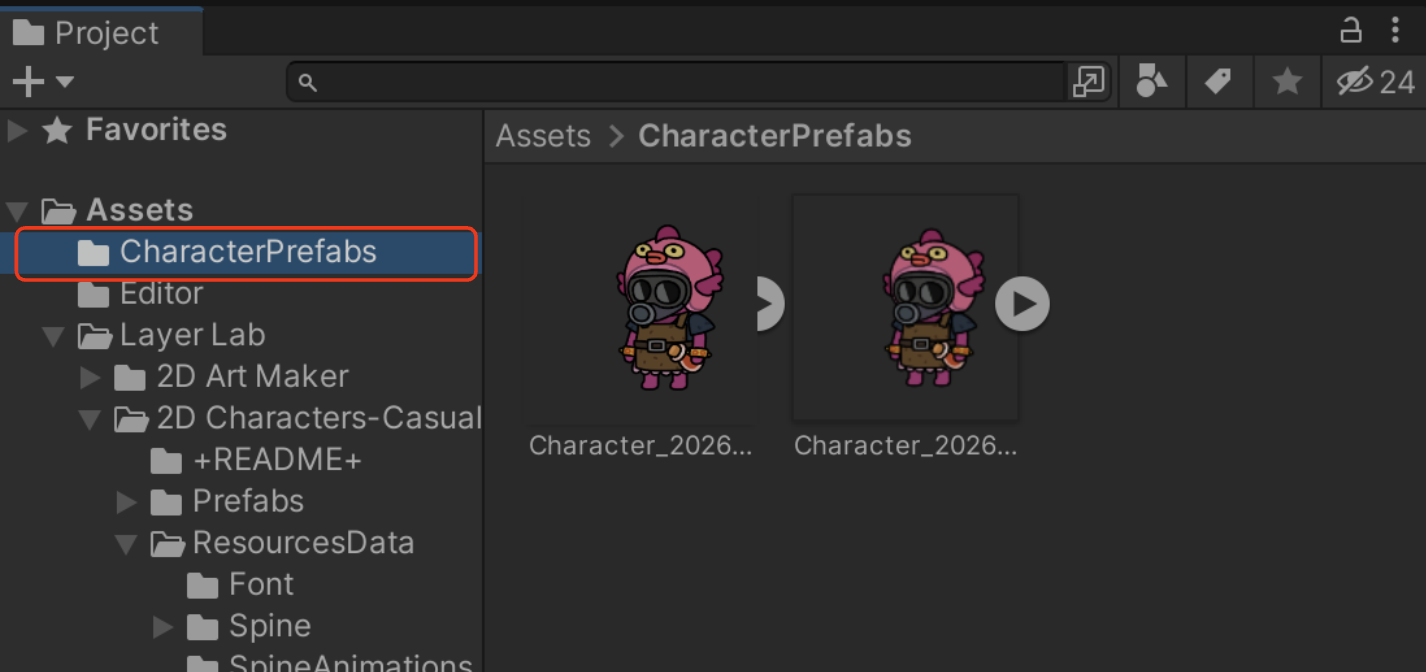
1. A “📁 CharacterPrefabs” folder will be created in the Project window, where the prefab and thumbnail image will be saved.
3. Recommended Setup
| Setting | Value |
|---|---|
| Pipeline | Built-In Render Pipeline |
| Material Shader | Sprites/Diffuse |
| Sort Mode | Custom Axis |
| Custom Axis | X: 0, Y: 1, Z: 0 |
4. To ensure correct rendering order for 2D games,
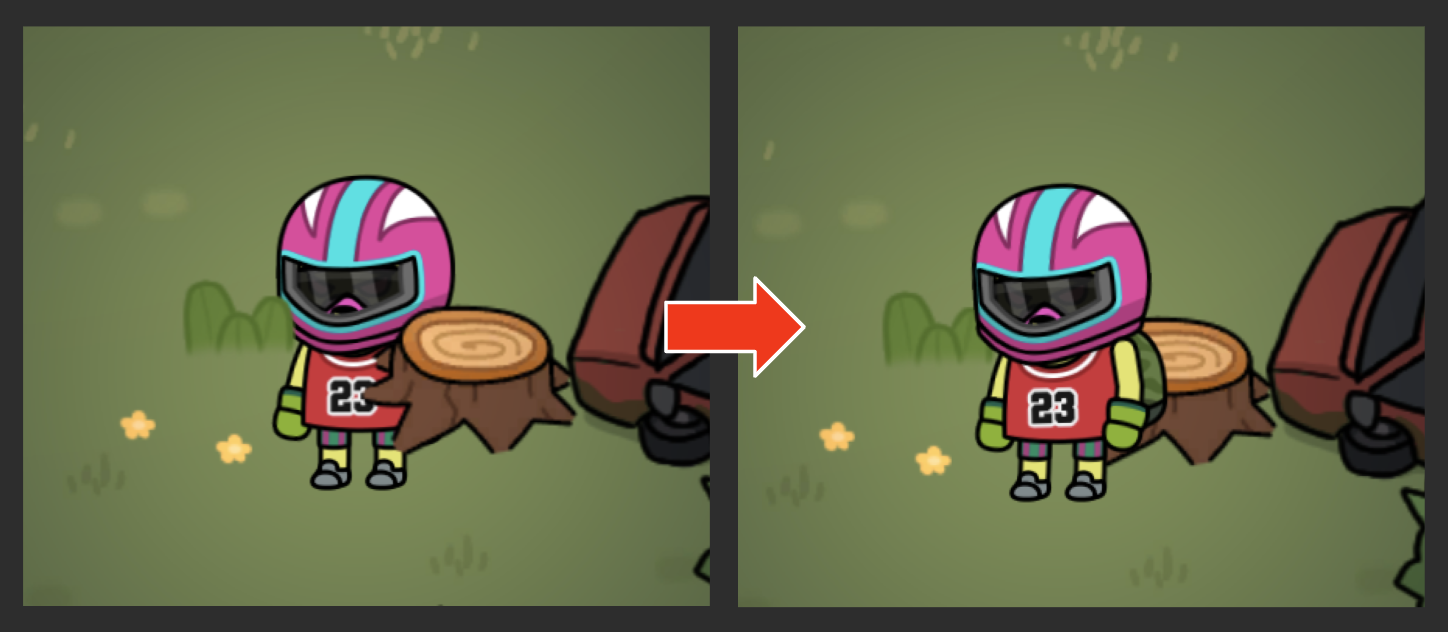
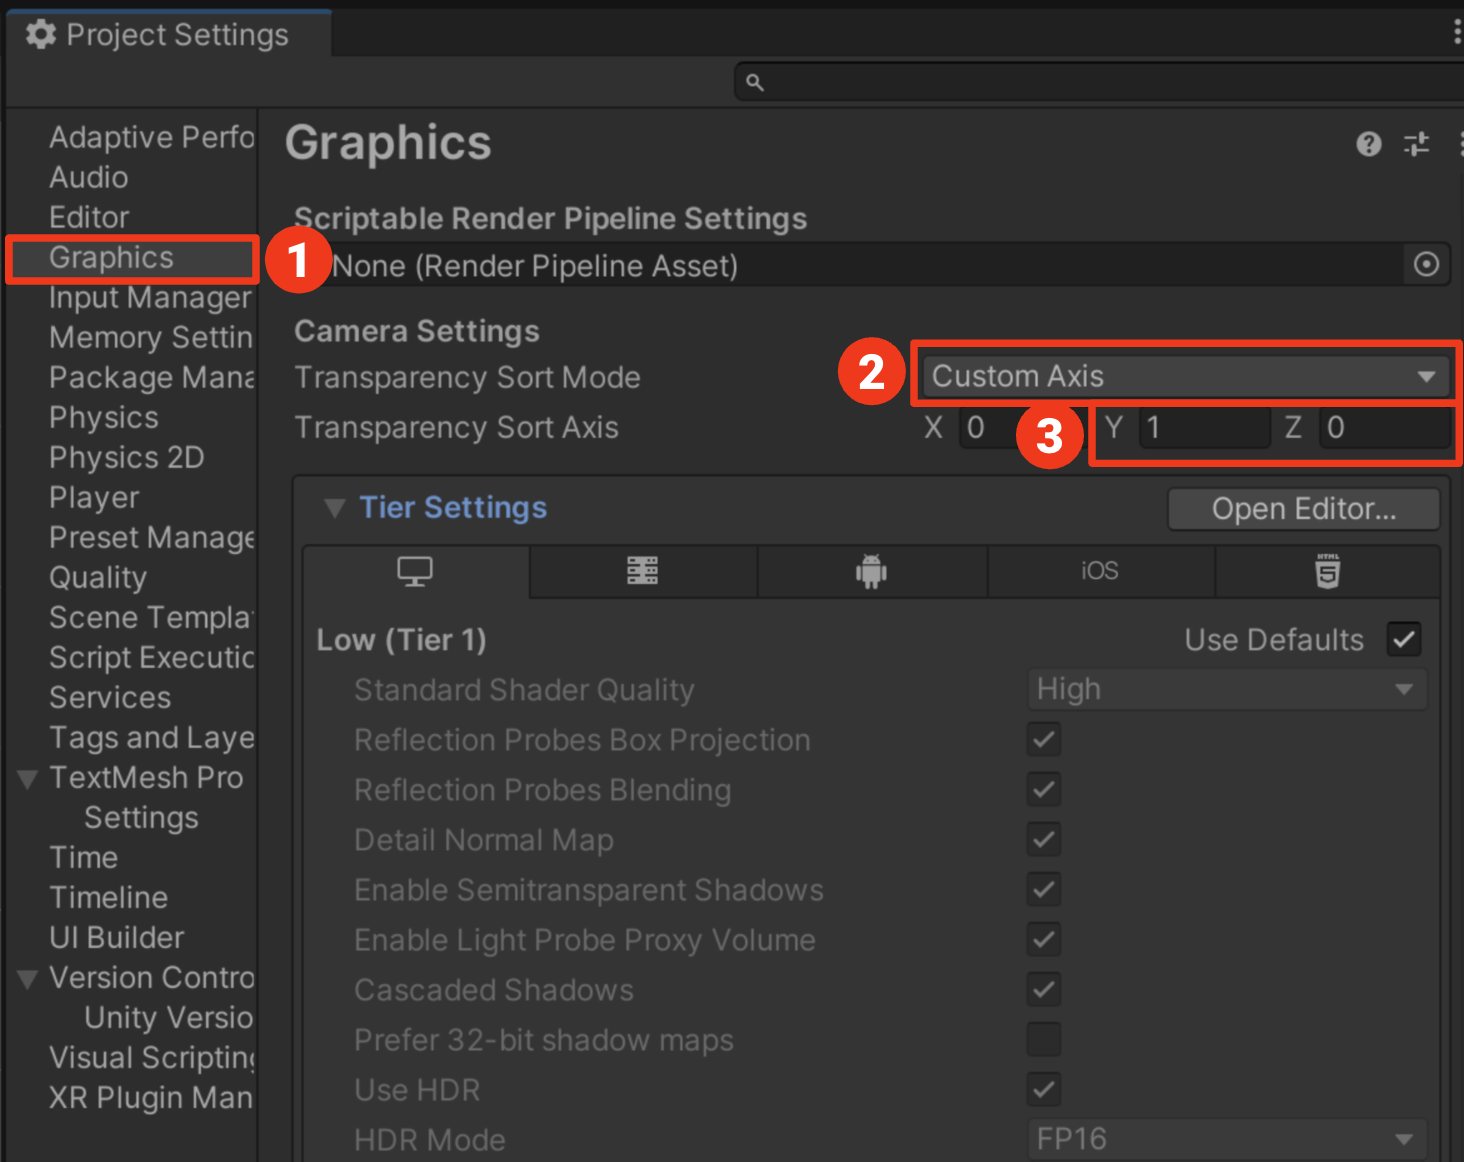
Configure the following settings in Project Settings → Graphics:
1. Select Graphics from the panel
2. Set Transparency Sort Mode to Custom Axis
3. Set Transparency Sort Axis to X: 0, Y: 1, Z: 0
5. URP Material Setup (Optional)

5. 2D Art Maker Custom Parts Guide (Spine Pro)
Weapon & Clothing Parts Addition Guide for 2D Art Maker (Spine Pro Required)
If you'd like to add weapon or clothing parts to the asset, please follow the steps below.
1. Open the original Spine file in the Spine editor.
2. Add the desired weapon or clothing parts.
3. Save the file as SkeletonData, overwriting the existing file.
4. Add thumbnail images matching each part into the PartsThumbnail folder.
5. Place the thumbnail images according to the corresponding item ID in the item thumbnail folder.
Useful Official Spine Guide Links
- Spine User Guide (Complete Explanation of Basic and Advanced Features)
- Spine Images and Attachments Basic Explanation
- Spine Data Saving and Export Related
6. Font Information & License
This asset uses fonts that are NOT included in the package:
- LineSeedSans (LY Corp.)
⚠️ You must download and comply with each font's license terms.
Download & License:
- LineSeedSans
[](https://scripts.sil.org/OFL)